2. Boom and Arm Assemblies The boom and arm assemblies have to be lightweight yet strong enough to lift heavy loads. Advanced materials like high-tensile steel are often employed in their design. Some manufacturers also explore using composite materials, which can minimize weight without sacrificing strength.
...
2025-08-15 03:42
1664
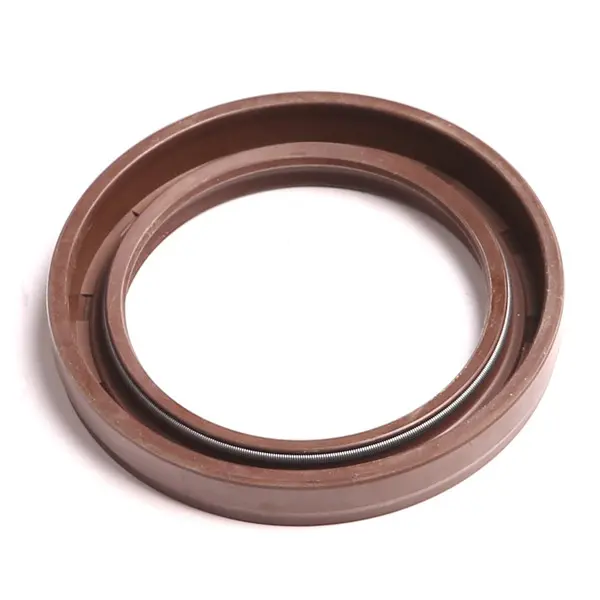 First, you will need to drain the oil from your engine and remove the old gasket First, you will need to drain the oil from your engine and remove the old gasket
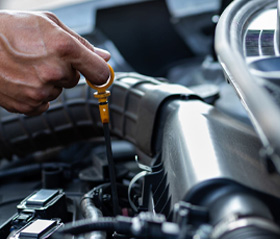 This makes it ideal for use in high-performance machinery and automotive systems where reliability is paramount This makes it ideal for use in high-performance machinery and automotive systems where reliability is paramount