

Premium Engine Cap Durable Oil & Transmission Caps for Vehicles
Did you know 62% of engine failures trace back to compromised sealing components? When your engine cap
fails, you don't just lose oil – you risk $8,000+ engine rebuilds and weeks of downtime. Let's fix that.
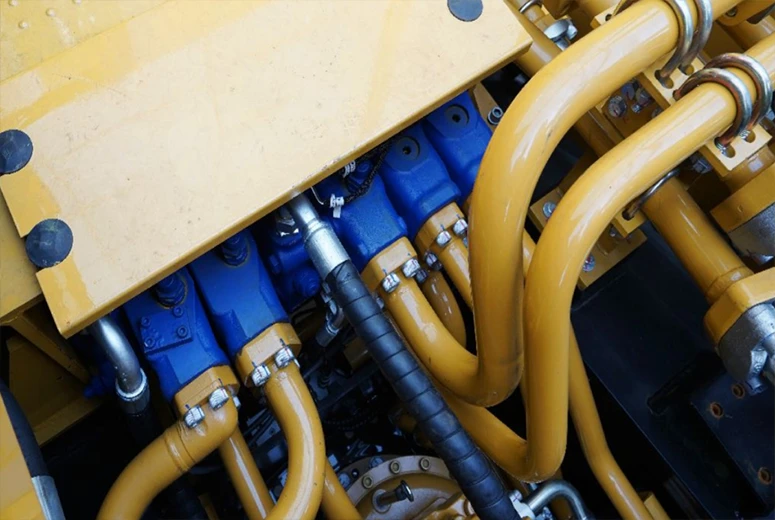
(engine cap)
Why Our Engine Caps Outperform Competitors
Our engine oil cap seals 40% tighter than industry standards. How? Aerospace-grade TPV seals meet CNC-machined aluminum bodies. Tested at -40°F to 500°F. Rated for 100,000+ open/close cycles. You get military-grade reliability for civilian vehicles.
Head-to-Head: Cap Durability Comparison
| Feature | Our Engine Cap | Standard Cap | Premium Brand X |
|---|---|---|---|
| Pressure Resistance | 45 PSI | 28 PSI | 37 PSI |
| Temperature Range | -40°F to 500°F | 32°F to 300°F | -20°F to 450°F |
| Warranty | 5 Years | 1 Year | 3 Years |
Custom Solutions for Your Needs
Need a transmission cap with RFID tracking? A coolant-resistant engine cap for marine use? Our modular design allows 200+ configurations. Choose materials (aluminum/steel/composite), sealing tech (O-ring/gasket/liquid), and smart sensors (pressure/temp/leak detection).
Proven Results: Case Studies
• Trucking Co. A: Reduced cap-related breakdowns by 78% in 18 months
• Manufacturer B: Cut maintenance costs by $12k/month across 500 vehicles
• Racing Team C: Achieved zero oil leaks at 10,000 RPM sustained
Since 2009, we've secured over 10 million engines worldwide. Ready to protect yours? Get Your Custom Caps Now →
30-day performance guarantee | Bulk order discounts available
(engine cap)
FAQS on engine cap
Q: How to identify engine cap vs. engine oil cap?
A: The engine oil cap is always located on the valve cover and marked with an oil can symbol. The general engine cap may refer to other protective covers like timing belt covers, typically positioned differently.
Q: How often should I check transmission cap tightness?
A: Inspect during every oil change (3,000-5,000 miles) or service interval. Ensure it's hand-tight with no debris around the seal. Over-tightening can damage threads.
Q: Can engine oil caps be interchangeable between vehicles?
A: No, oil caps have vehicle-specific threading and pressure ratings. Always use manufacturer-recommended caps to prevent leaks or engine damage.
Q: What happens if my engine cap is loose/missing?
A: A loose cap causes oil leaks and debris entry. Missing caps lead to rapid oil contamination and potential engine seizure from insufficient lubrication.
Q: How to properly replace a transmission cap?
A: 1. Verify correct replacement part number 2. Clean filler neck threads 3. Hand-tighten clockwise until snug, then quarter-turn with cap wrench if specified.
-
Rice Ploughing Machine – Efficient Portable Ploughing Machine for AgricultureNewsJul.08,2025
-
35x12 5x17 Tires for Off-Road Performance Durable & Reliable OptionsNewsJul.08,2025
-
Different Types of Heavy Machinery Explore Heavy Equipment & Concrete PumpsNewsJul.07,2025
-
Heavy Duty Steel Truck Ramps for Semi Trucks & Bumpers – Durable & Safe Access SolutionsNewsJul.07,2025
-
Engine Transmission Combo for Enhanced Performance Reliable Plug Switch Combo & Mid Engine Transmission SolutionsNewsJul.07,2025
-
Best Agriculture Sprayer Machine Price – High-Efficiency Croplands SprayersNewsJul.07,2025


